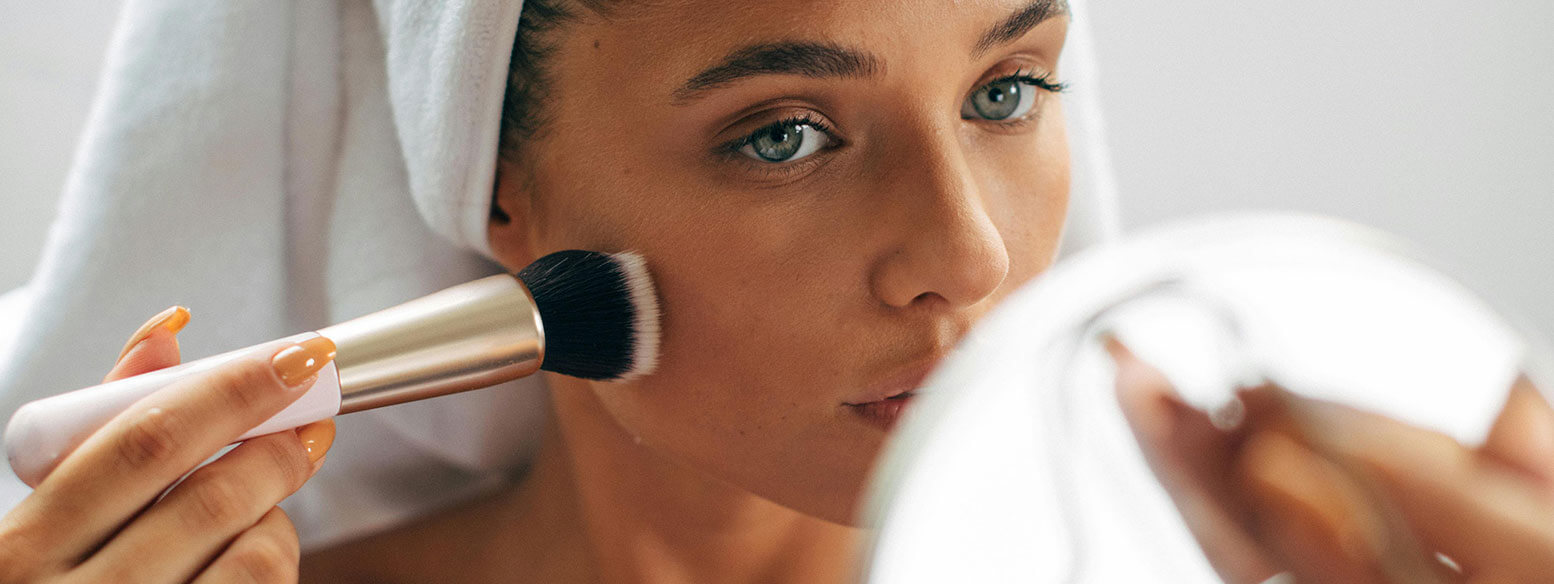
Contouring has become a staple in the makeup world, creating the illusion of sculpted features and enhancing the natural structure of the face. While it might seem intimidating, especially for beginners, mastering the art of contouring is more accessible than you think. This comprehensive guide will take you through the basics, step by step, to help you achieve a beautifully contoured look that enhances your unique beauty.
Contouring involves using different shades of makeup to highlight and define specific areas of the face. The key components include:
Before diving into the contouring process, ensure you have the right tools and products on hand. You’ll need:
Different face shapes require different contouring techniques. Identify your face shape before starting:
Start by highlighting areas you want to bring forward. Use a shade lighter than your skin tone for:
Next, use a contour shade to create shadows and define specific areas:
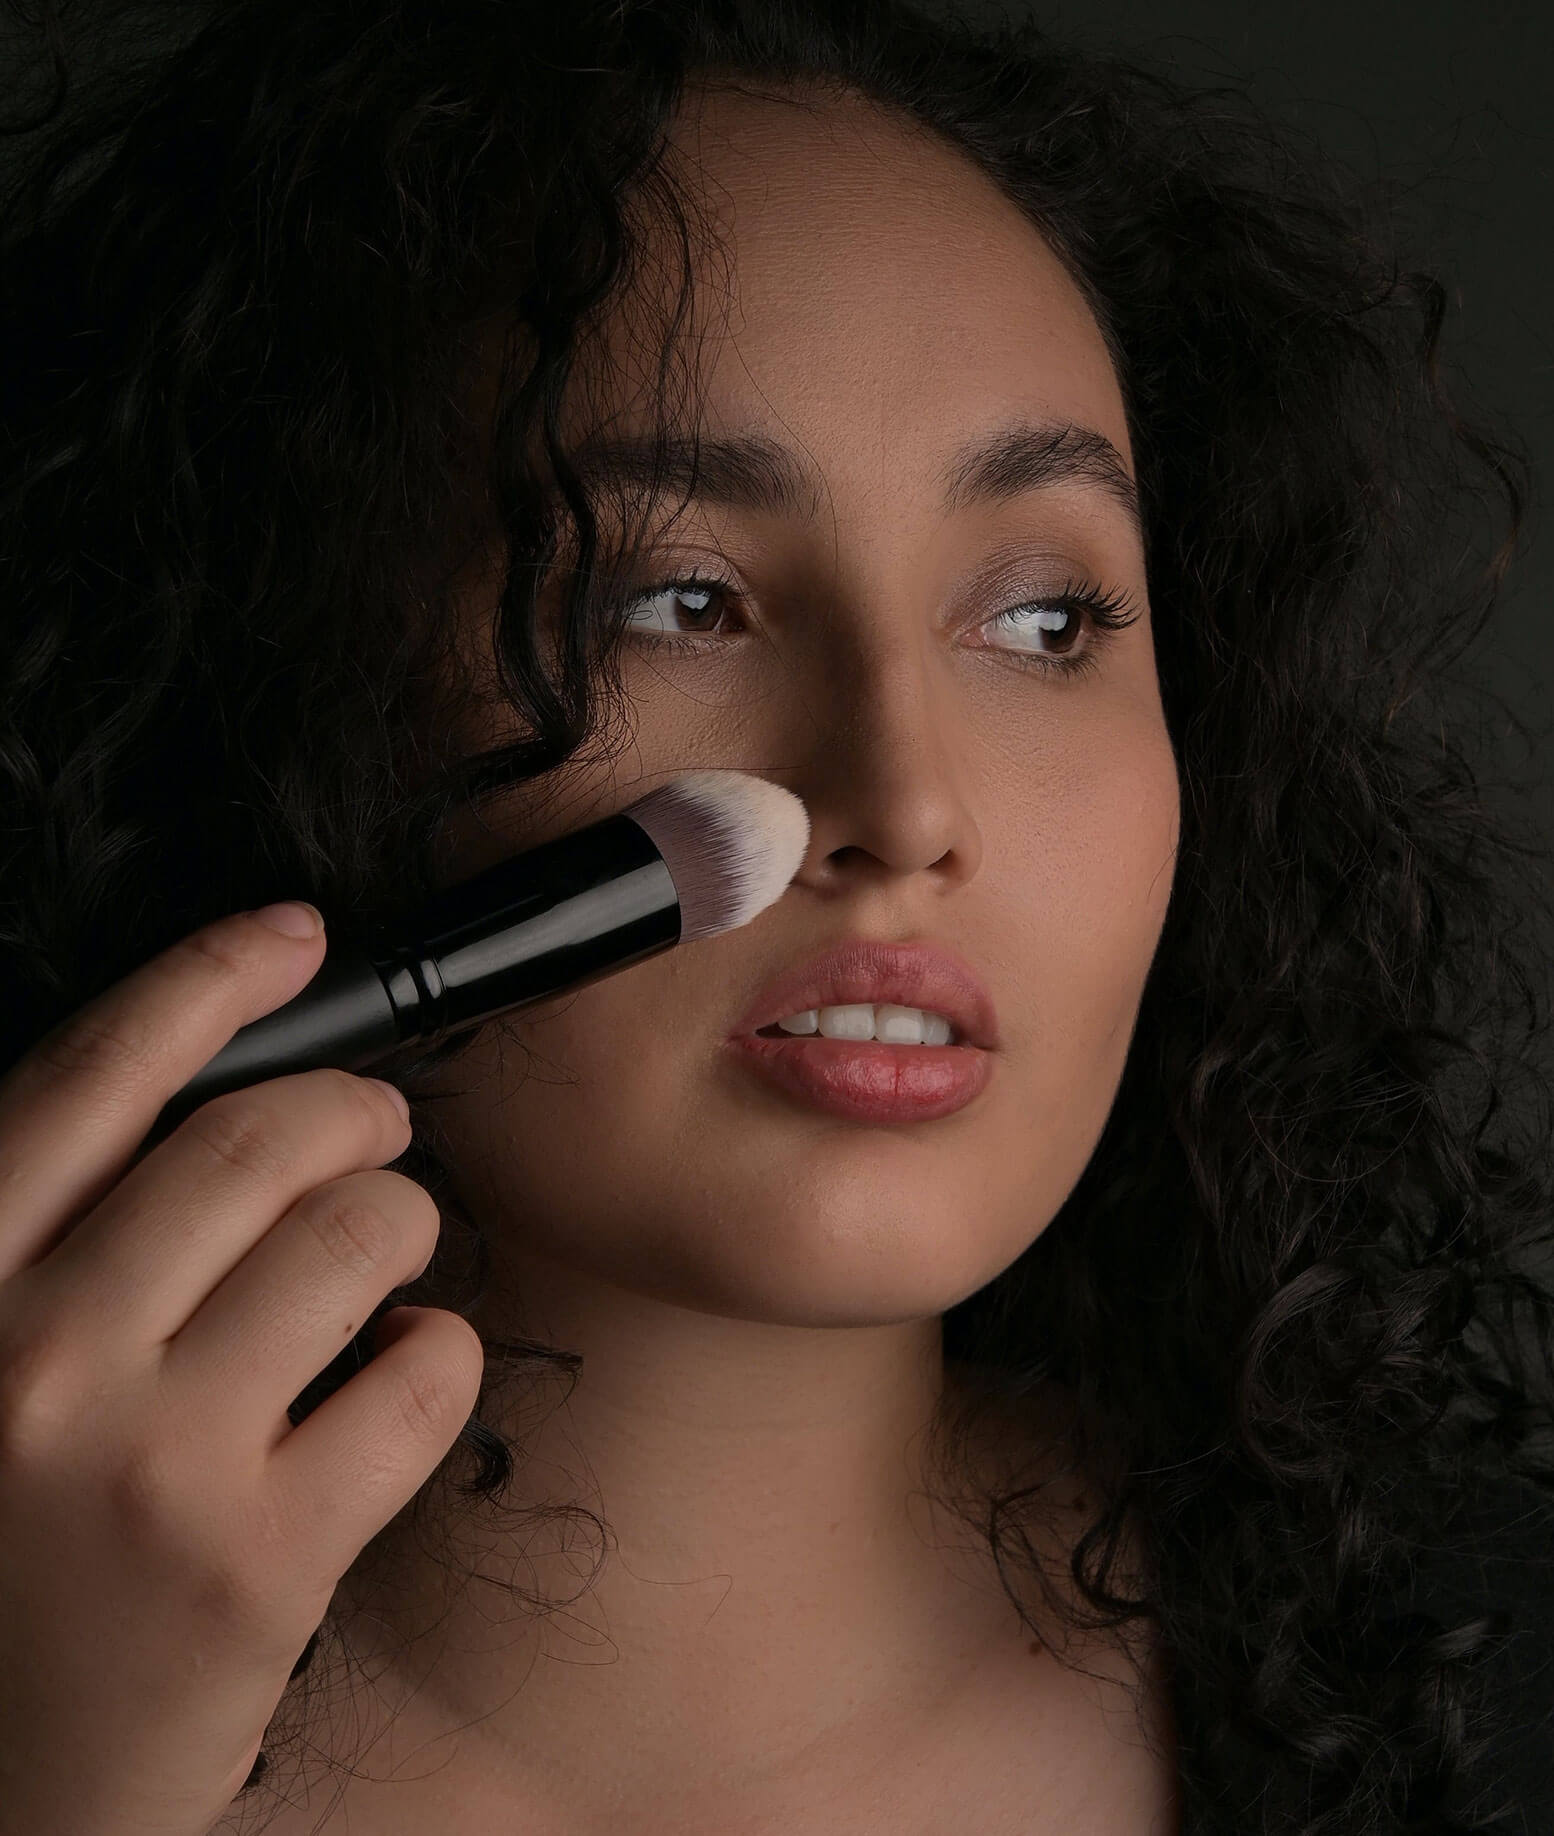
Blending is the magic step in contouring. Use a beauty sponge or blending brush to seamlessly integrate the highlighted and contoured areas. The goal is a natural transition between light and shadow. Be gentle and patient, ensuring there are no harsh lines.
To set your contour and ensure it lasts throughout the day, lightly dust translucent setting powder over the contoured areas. This step helps prevent any unwanted shine and keeps your makeup in place.
Contouring is an art that improves with practice. Don’t be afraid to experiment with different techniques, shades, and intensities. The more you practice, the better you’ll become at customizing your contour to enhance your unique features.
Contouring is a skill that evolves with time and practice. Embrace the learning process, and remember that there’s no one-size-fits-all approach. By understanding the basics, identifying your face shape, and practicing blending techniques, you’ll soon master the art of contouring and elevate your makeup game.


In the pursuit of radiant and healthy skin, the integration of nutritional supplements into your...
Read more »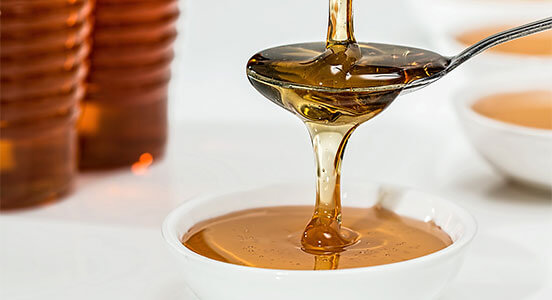
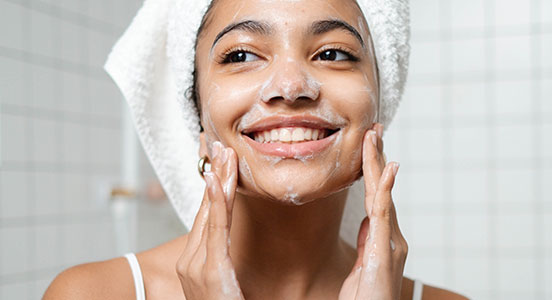
In a world saturated with high-end beauty products, the charm of do-it-yourself (DIY) beauty remedies...
Read more »
In a world that's increasingly aware of environmental impact, the beauty industry is stepping up...
Read more »
Nails, often considered the canvas of beauty, reflect not only our personal style but also...
Read more »Subscribe Now to Get All Latest Updates
Subscribe Now to Get All Latest Updates